Mobile battle royale titles like Free Fire demand fast reactions, precise movement, and multi-finger inputs. As players look for ways to optimize their controls, physical accessories like gaming triggers have become popular.
n
Gaming triggers are external clip-on or clamp-on buttons that attach to the top edge of your smartphone. They act as mechanical or capacitive levers, pressing down on specific areas of your touchscreen when squeezed. The primary goal is to shift key actions—such as firing or aiming down sights—off the screen surface and onto physical shoulder buttons, similar to a traditional console controller.
n
While gaming triggers offer an alternative control style, they are completely optional accessories. They do not automatically make you a better player, nor are they a strict requirement to excel in competitive matches. Understanding how they interact with your phone, your hands, and your Custom HUD is essential before deciding to add them to your gaming setup.
n
This article is part of our comprehensive guide on the Best Gaming Gear for Free Fire: Accessories That Actually Help, where we examine which mobile gaming accessories offer genuine utility and which ones fall short.
n
Quick Answer: Are Gaming Triggers Worth It for Free Fire?
n
Gaming triggers are worth it for players who want physical tactile feedback, struggle with dense touch-screen HUD layouts, or want an easier transition into a multi-finger layout without adopting a full hand-cramping "claw" grip.
n
Who May Benefit:
n
- Two-finger thumbs players who want to aim, move, and shoot simultaneously without complex finger contortions.
- Players who prefer physical button feedback rather than tapping flat glass.
- Gamers with larger hands or phones who experience thumb fatigue during long sessions.
n
Who Probably Does Not Need Them:
n
- Experienced 3-finger or 4-finger claw players who already have strong muscle memory on glass.
- Players who prefer minimalist, lightweight setups without extra hardware to carry.
- Gamers using phones with thick, non-removable cases or aggressive camera bumps that prevent stable attachment.
n
What Triggers Can Solve:
n
Physical triggers solve the spatial issue of blocking screen visibility with your thumbs and make multi-action execution (like aim-and-shoot) more ergonomic.
n
What Triggers Cannot Solve:
n
Triggers cannot fix poor game awareness, slow decision-making, incorrect in-game sensitivity, or improper drag-shot mechanics. They are simple input passthroughs, not aim enhancements.
n
What Are Gaming Triggers?
n
Gaming triggers are compact hardware attachments designed for mobile devices. They mount onto the top frame of a smartphone, placing physical lever buttons under your index fingers while your thumbs stay planted on the lower half of the display.
n
Most mobile triggers do not require Bluetooth, batteries, or software drivers. Instead, they function using basic mechanical contact or capacitive conduction:
n
- The Physical Lever: Positioned on top or behind the phone, giving your index finger a tactile target.
- The Actuation Mechanism: Squeezing the lever pushes an arm down toward the glass.
- The Contact Pad: A conductive rubber or silicone tip touches the touchscreen, mimicking the physical tap of a human finger.
n
By mapping an on-screen button directly under the trigger’s contact pad, you convert a glass tap into a mechanical shoulder-button press.
n
How Gaming Triggers Work in Free Fire
n
In Free Fire, actions like firing, opening your scope, crouching, or deploying a Gloo Wall rely on direct taps to the Custom HUD. When using gaming triggers, the basic setup mechanism involves alignment:
n
[ Your Index Finger ] ---> Presses Physical Trigger Levern │n ▼n Mechanical / Capacitive Armn │n ▼n[ Conductive Rubber Tip ] ---> Taps Screen Overlay Arean │n ▼n [ In-Game Fire / Aim Control ]nn
Because triggers physically cover a small portion of the upper display, you must open Free Fire’s control settings, move the desired action icon (e.g., the Left Fire Button or Scope Button) directly under where the trigger pad rests, and enlarge the button size to ensure clean contact registration.
n
Not all triggers function identically. While mechanical clip-ons rely entirely on physical spring force, capacitive and pulse triggers use micro-currents to register contact faster. Regardless of the internal style, proper alignment between the rubber tip and the touch icon is the single most critical factor for reliable inputs.
n
Gaming Triggers vs Touchscreen Controls
n
| Factor | Gaming Triggers | Touchscreen Controls |
|---|---|---|
| Physical Feedback | High (clicky or spring response) | None (flat glass surface) |
| Setup Time | Requires physical mounting & alignment | Instant (ready on launch) |
| Portability | Requires carrying extra hardware | Built-in to your device |
| Grip Comfort | Reduces thumb clutter; alters hand placement | Can cause hand fatigue during claw grips |
| Control Placement | Fixed to top edge of the device | Fully customizable anywhere on display |
| Compatibility | Dependent on phone thickness & case style | 100% universal across all screens |
| Learning Curve | Short for thumbs players; re-learning for claw | Native to mobile gaming; takes time to master claw |
| Cost | Additional accessory purchase | Free |
| Personal Preference | Ideal for tactile, controller-style preference | Ideal for minimalist, direct-touch preference |
n
Benefits of Gaming Triggers
n
Easier Button Access
n
Offloading actions like shooting or aiming to your index fingers clears valuable real estate on the bottom half of the screen. This makes executing secondary actions—like jumping, crouching, or swapping weapons with your thumbs—much more accessible while moving.
n
Alternative Grip
n
Holding a phone flat while contorting fingers into a 4-finger claw setup can strain wrists and knuckles over time. Triggers allow you to hold the phone in a standard, natural grip while still utilizing your index fingers on top of the chassis.
n
Consistent Button Position
n
When playing directly on glass, thumbs can occasionally drift, leading to missed taps during frantic gunfights. A physical button remains in the exact same physical spot relative to your fingers, helping establish reliable mechanical muscle memory.
n
Long Sessions
n
Because physical buttons reduce the need to hover fingers tensely over glass screens, some players find they experience less finger stiffness and thumb strain during extended play sessions.
n
Multi-Finger Control
n
For two-finger thumb players who struggle to learn a 3-finger or 4-finger HUD layout, triggers serve as a bridge. They grant instant access to multi-finger actions without requiring dramatic shifts in thumb habits.
n
Drawbacks of Gaming Triggers
n
Despite their advantages, physical triggers carry practical drawbacks that prevent many competitive players from adopting them permanently:
n
- Extra Setup Time: You must mount, level, and test the triggers every single time you play.
- Compatibility Problems: Curved phone backs, thick protective cases, and large camera modules can prevent triggers from clamping flush.
- Accidental Touches: Misaligned or overly loose triggers can rest against the screen, registering constant "ghost touches" or firing automatically.
- Bulky Hardware: Carrying extra clips around risks losing or damaging small plastic parts in transit.
- Learning Curve Shift: While simpler than full claw, moving your main fire button to your index finger still requires breaking established muscle memory.
- Screen Clearance: The clamping mechanisms obscure small portions of the top interface, sometimes blocking mini-map details, team health bars, or ping indicators.
n
Types of Gaming Triggers
n
| Type | How It Works | Advantages | Limitations |
|---|---|---|---|
| Simple Clip-On Triggers | Pure mechanical levers held by spring tension or plastic clips. | Inexpensive, lightweight, requires zero charging. | Can slip on thin phones; build quality varies widely. |
| Capacitive Touch Triggers | Uses conductive pads that transfer electrical current from skin to screen. | Fast response time, soft button feel, low physical pressure on glass. | Requires precise positioning; can be sensitive to moisture or sweat. |
| Mechanical Clamp Triggers | Features screw-down or lever-locking clamps with internal mouse-style switches. | Extremely stable grip, crisp tactile "click" feedback. | Bulkier design; takes longer to attach and detach. |
| Adjustable-Position Triggers | Allows horizontal sliding of contact arms along a top rail. | Customizable placement; avoids blocking screen HUD elements. | More moving parts; can loosen over time. |
n
How to Choose Gaming Triggers for Free Fire
n
When shopping for triggers, evaluate these factors to avoid buying incompatible hardware:
n
- Phone Compatibility: Measure your phone's total thickness—including your daily protective case—and check it against the trigger's jaw opening capacity.
- Screen Contact Material: Ensure contact tips are made from soft, high-conductivity silicone or rubber to prevent micro-scratches on screen protectors.
- Mounting Stability: Look for mechanisms with rubberized clamping pads or screw locks rather than weak spring clips so they don't shift mid-game.
- Build Quality: Prioritize metal alloy levers or reinforced ABS plastic over thin, brittle plastics that snap under pressure.
- Case Clearance: If you refuse to remove your phone case to play, choose wide-gap clamp designs specifically rated for cased devices.
- Size & Portability: Pick compact, low-profile designs that leave your mini-map and upper HUD indicators visible.
n
Gaming Triggers and HUD Layout
n
Using triggers effectively requires adjusting your in-game Custom HUD. You cannot leave your controls on default and expect external hardware to work.
n
[ Top Left Trigger ] [ Top Right Trigger ]n (Mapped over Left Fire Button) (Mapped over Scope / Aim Button)n┌─────────────────────────────────────────────────────────────────────────┐n│ [MAP] [TEAM] │n│ │n│ │n│ [Movement Joystick] [Crouch / Jump] │n│ (Left Thumb) (Right Thumb) │n└─────────────────────────────────────────────────────────────────────────┘nn
When aligning your HUD:
n
- Drag the Left Fire Button or Scope Button to the exact spot where the trigger's rubber tip touches the screen.
- Increase the button's Size scale (to 100%) so slight physical shifts in the trigger won't cause a missed tap.
- Lower the button Transparency slightly if you want a clearer view, but ensure you can still see alignment through the glass.
- Move top-edge UI elements (like the mini-map or teammate status) slightly lower to prevent the trigger clamp from hiding critical information.
n
To understand how button layouts interact with overall control responsiveness, see our guide on Free Fire Sensitivity Settings.
n
Gaming Triggers for Headshots and Drag Shots
n
A common misconception in the Free Fire community is that installing physical triggers instantly grants effortless headshots or auto-aim capabilities. This is false.
n
Headshots in Free Fire—particularly the popular "drag shot" technique—rely on dragging the primary fire button upward in a controlled motion toward the opponent's head while managing recoil.
n
[ Drag Shot Technique ]n ▲n │ (Upward drag motion)n │n [ Primary Fire Button ]nn
When using gaming triggers:
n
- Scope-In Shots: Triggers excel at letting your index finger open the scope while your thumb handles aim tracking.
- Left Fire Button (Static): If you map a trigger to the Left Fire Button, it acts as a stationary tap. This is great for fixed firing or sniper rifles, but it cannot be dragged.
- Right Fire Button (Drag): If you map a mechanical trigger to the main Right Fire Button, physical movement is restricted by the trigger arm itself, making precise upward drag shots considerably harder than using a free thumb on smooth glass.
n
For detailed advice on setting up your aiming controls without hardware crutches, read our full breakdown on Free Fire Headshot Sensitivity.
n
Gaming Triggers for BR vs Clash Squad
n
Battle Royale (BR)
n
In long-form Battle Royale matches, gameplay involves extended periods of looting, rotation, and sporadic gunfights.
n
- Pros: Triggers offer comfortable hand placement during slow rotations and allow quick scope-in responses when ambushed at long range.
- Cons: Managing inventory, checking maps, and selecting loot on a crowded upper HUD can feel cramped with heavy hardware clamped to the top edge.
n
Clash Squad (CS)
n
Clash Squad features fast-paced, close-quarters combat where millisecond reactions, rapid Gloo Wall placement, and aggressive peek-and-shoot mechanics dominate.
n
- Pros: Index-finger firing allows two-finger players to jump, crouch, and aim simultaneously during fast aggressive pushes.
- Cons: Quick weapon switches and precise drag-shooting in close combat can feel restricted if physical triggers limit thumb mobility.
n
Gaming Triggers and Sensitivity Settings
n
Triggers change your physical input method, but they do not alter the game's internal camera math. Adding a physical lever will not make your crosshair move faster or control recoil automatically.
n
If you decide to install triggers, follow this step-by-step setup sequence:
n
- Keep Your Current Sensitivity: Do not change your in-game sliders before attaching new hardware.
- Mount & Align Hardware: Position triggers flush over your expanded HUD icons.
- Practice Input Timing: Spend 20 minutes in the Training Ground learning how hard you need to press the mechanical levers to register taps.
- Make Minor Adjustments: If aiming feels heavy because your hand position changed, adjust your Red Dot or General sensitivity by tiny increments (+2 to +5).
- Isolate Changes: Never change your HUD layout, sensitivity sliders, and hardware setup all on the same day.
n
If you need a baseline configuration before introducing accessories, check our updated guide on Free Fire Sensitivity Settings.
n
Gaming Triggers and Phone Cases
n
Phone cases are the most common reason gaming triggers fail to work properly.
n
[ Trigger Clamp Gap ]n │n ├─► Curved Case Edge ──► Causes Slipping / Misalignmentn ├─► Thick Armor Case ──► Exceeds Max Clamp Widthn └─► Camera Bump ───────► Prevents Flush Contactnn
- Thick/Armor Cases: Extreme protective cases push the overall thickness of a device beyond the maximum opening range of standard trigger clamps.
- Camera Bumps: Large camera modules on modern smartphones often extend near the top edge, preventing the left or right trigger from mounting flat.
- Screen Bezel Lip: Cases with raised front lips can elevate the trigger clamp, holding conductive rubber tips a millimeter off the glass surface.
n
For optimal reliability, prepare to play either with a thin, low-profile case or with the case completely removed.
n
Common Gaming Trigger Problems
n
| Problem | Possible Cause | What to Try |
|---|---|---|
| Trigger Does Not Register | Contact tip isn't touching glass; HUD button too small. | Enlarge HUD icon to 100%; remove phone case; clean glass. |
| Accidental Touches (Ghost Firing) | Clamp is tightened too hard; pad is touching bezel. | Loosen mounting screw slightly; re-align pad directly over icon. |
| Trigger Slips Mid-Game | Sweat build-up on frame; weak clamp springs. | Wipe device edges dry; switch to screw-locking clamp triggers. |
| Button Placement Feels Wrong | Trigger arm rests too far inward or outward. | Choose adjustable-position triggers that slide along the frame rail. |
| Case Prevents Attachment | Phone thickness exceeds clamp gap. | Remove case during gaming sessions or use ultra-thin sleeves. |
| Trigger Feels Uncomfortable | Sharp plastic edges or awkward hand angle. | Change hand grip slightly; switch to ergonomic clip designs. |
| Controls Feel Unnatural | Muscle memory conflict from direct-touch play. | Stick to basic Training Ground practice for 3-5 days before ranked play. |
n
How to Set Up Gaming Triggers Properly
n
Follow this practical sequence to set up your triggers correctly without damaging your device:
n
- Prepare Device: Remove thick protective cases and wipe down the display with a microfiber cloth to clear oil and sweat.
- Open Control Settings: Launch Free Fire, go to Settings > Controls > Custom HUD.
- Position In-Game Buttons: Drag your desired action icons (Fire, Scope, Crouch) to the upper edge where the triggers will rest.
- Scale Up Icons: Increase the target button sizes to maximum width (80%-100%).
- Mount Triggers: Slide or clamp the triggers onto the top frame, aligning the contact rubber pads directly over the center of your expanded icons.
- Lock in Place: Secure the clamps tightly enough to prevent slipping, but avoid over-tightening against the glass.
- Test Inputs in Training Mode: Enter Free Fire's Training Ground. Press the levers repeatedly to verify 100% actuation consistency.
- Refine Positioning: Shift trigger placement by millimeters until tapping feels natural and does not block critical UI elements like the mini-map.
n
How Long Does It Take to Get Used to Gaming Triggers?
n
Adapting to physical triggers requires building fresh neurological muscle memory. The adaptation timeline varies depending on your previous control habits:
n
- Two-Finger Thumb Players: Generally adjust within 3 to 7 days, as shifting firing duties to an index finger feels relatively intuitive.
- Established Claw Players: May take 1 to 2 weeks, as their hands are already wired for direct glass touch, making physical levers feel slightly restrictive at first.
n
Avoid jumping directly into Ranked BR or Clash Squad matches immediately after attaching triggers. Spend at least 30–45 minutes daily in the Training Ground and Casual modes to build confidence before putting your rank on the line.
n
Common Buying Mistakes
n
- Buying Without Measuring: Purchasing triggers without verifying your phone's total thickness and camera clearance.
- Choosing Style Over Function: Selecting flashy LED lighting or cheap plastic shapes over robust mounting mechanisms.
- Assuming Higher Cost Equals Better Aim: Expecting expensive premium triggers to automatically solve core gameplay mistakes.
- Ignoring Screen Compatibility: Using hard plastic or metal contact tips that wear down screen coatings instead of soft conductive silicone.
- Adjusting Sensitivity Immediately: Changing in-game sensitivity sliders at the same time as installing hardware, making aim inconsistent.
- Skipping Practice: Expecting instant rank gains on day one without dedicating time to adjust muscle memory.
n
Who Should Use Gaming Triggers?
n
| Player Type | Worth Trying? | Why |
|---|---|---|
| Casual Player | Yes | Adds comfortable, controller-like tactile feedback without complex HUD practice. |
| Ranked Thumb Player | Yes | Easy way to gain multi-finger execution without adopting a cramped claw grip. |
| Competitive Claw Player | No | Direct glass contact on a customized 4-finger HUD offers faster flexibility. |
| Two-Finger Player | Yes | Offloads core actions instantly; highly recommended for simple control expansion. |
| Four-Finger Player | No | Hardware limits existing touch freedom and adds unnecessary physical bulk. |
| Anti-Accessory Player | No | Hardware setup and carrying requirements conflict with a minimalist playstyle. |
| Thick-Case User | No | Constant removal of heavy phone cases creates friction before every session. |
n
Gaming Accessories Compared
n
Physical triggers are only one item in a mobile gamer's toolkit. Each accessory addresses a completely different physical aspect of gaming:
n
- Gaming Triggers: Solve input management and finger distribution issues by introducing physical shoulder buttons.
- Finger Sleeves: Solve friction, sweat interference, and touch inconsistency on glass surfaces. For details, read our guide on the Best Finger Sleeves for Free Fire.
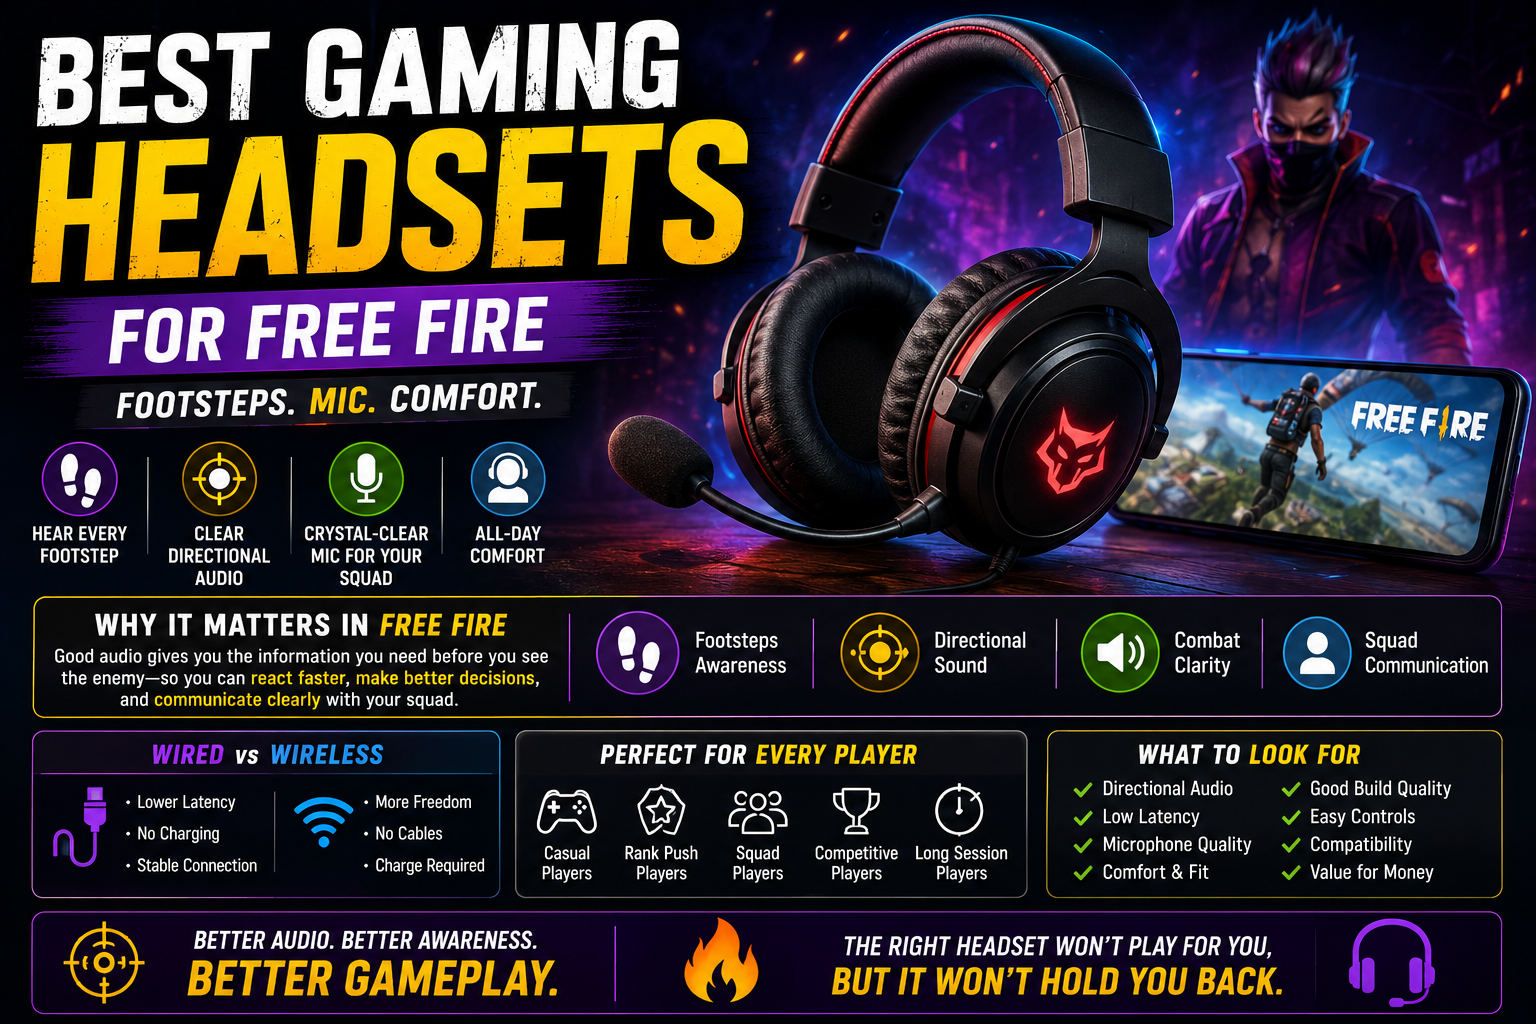
- Gaming Headsets: Solve audio spatial awareness, helping you pinpoint enemy footsteps, vehicle direction, and gunshot locations. Learn more in our breakdown of the Best Gaming Headsets for Free Fire.
- Phone Coolers: Solve thermal throttling, FPS drops, and battery overheating during extended sessions. Check our recommendations for the Best Phone Coolers for Free Fire.
n
FAQ
n
Do gaming triggers improve aim in Free Fire?
n
No. Gaming triggers do not alter camera sensitivity, tracking math, or crosshair positioning. They simply provide a physical button to tap instead of glass.
n
Are gaming triggers good for headshots?
n
Triggers do not grant automatic headshots. While mapping a scope button to a trigger can help with quick-scoping, upward drag-shot mechanics still require manual thumb movement on the display.
n
Are gaming triggers useful for drag shots?
n
Triggers are generally less effective for vertical drag shots. Because physical trigger arms sit stationary, dragging an on-screen fire button upward is much easier directly on smooth glass using your thumb.
n
Do gaming triggers work on every phone?
n
No. Compatibility depends on phone thickness, screen bezel width, camera bump placement, and protective case design.
n
Can gaming triggers damage the screen?
n
Quality triggers with soft silicone or conductive rubber pads will not harm your screen. However, dirty contact pads or cheap hard-plastic tips pressed with excessive force can scratch screen protectors.
n
Can I use gaming triggers with a phone case?
n
It depends on the trigger design and case thickness. Thin TPU cases often work, but thick armor cases usually need to be removed for clamps to secure properly.
n
Are gaming triggers allowed in Free Fire?
n
Physical clip-on triggers do not modify game files, use third-party software, or send digital cheat signals, making them standard physical accessories for everyday casual and ranked play. However, players should always review specific rules for third-party, grassroots, or official esports tournaments, as some organized leagues prohibit hardware attachments.
n
Are gaming triggers worth buying?
n
Yes, if you play with two thumbs and want easier multi-action control without learning a 4-finger claw grip. If you are already proficient with multi-finger claw play on glass, they are generally unnecessary.
n
Are triggers better than touchscreen controls?
n
Neither is universally better. Triggers offer tactile feedback and simpler hand grips, while direct touchscreen controls offer complete layout flexibility and lower setup friction.
n
How do I position gaming triggers correctly?
n
Clamp them over the top edge of your phone, align the rubber contact pads directly over your enlarged in-game HUD icons, and test actuation in the Training Ground before playing competitive matches.
n
Final Verdict
n
Gaming triggers are practical, low-cost accessories that bridge the gap between simple two-thumb play and complex multi-finger claw layouts. They provide tactile feedback, free up thumb space, and make actions like aiming down sights while moving much more accessible.
n
However, triggers are not a shortcut to high-tier rank performance. They cannot guarantee headshots, improve drag-shot mechanics, or substitute for game awareness, smart positioning, and consistent practice.
n
If you dislike tapping flat glass or find multi-finger claw grips uncomfortable, a solid set of physical triggers is worth testing. If you already have strong muscle memory on a native multi-finger HUD, you are likely better off keeping your setup lightweight, clean, and hardware-free.